DIY ADS-B Flight Tracker Enclosure
Track aircraft in real-time with a simple DIY setup. Whether you’re curious about planes overhead or want to contribute to global flight tracking networks, this project lets you do both. Built and tested in Costa Mesa, where we track everything from small planes at John Wayne to commercial traffic heading to LAX.

What This Is

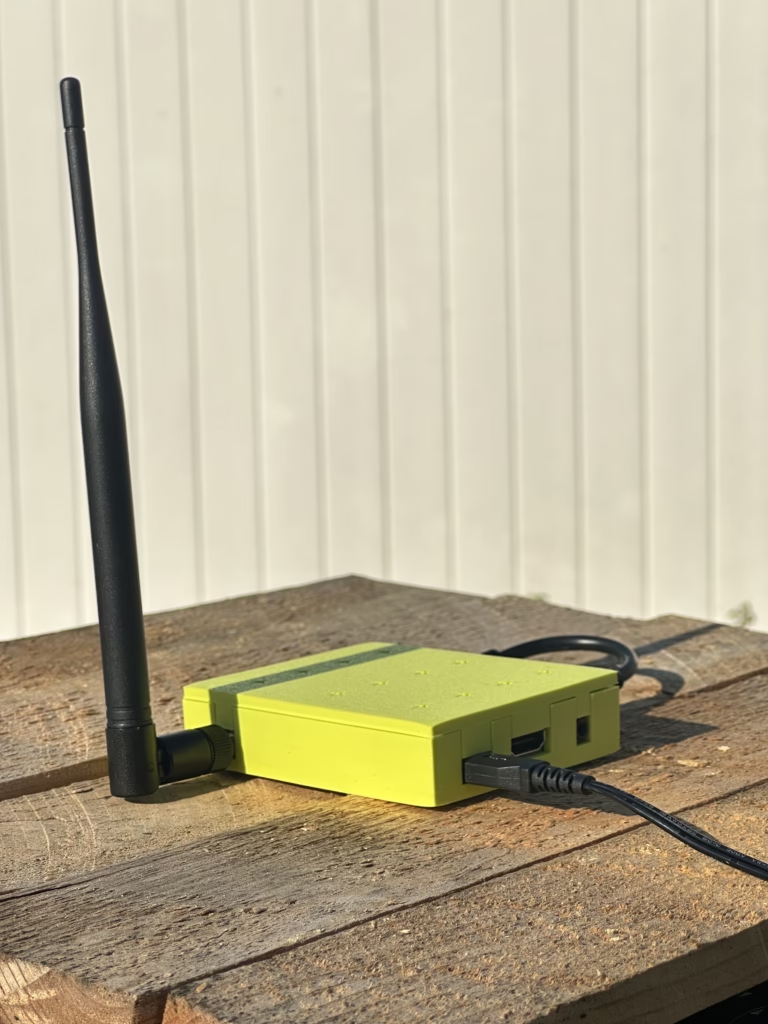
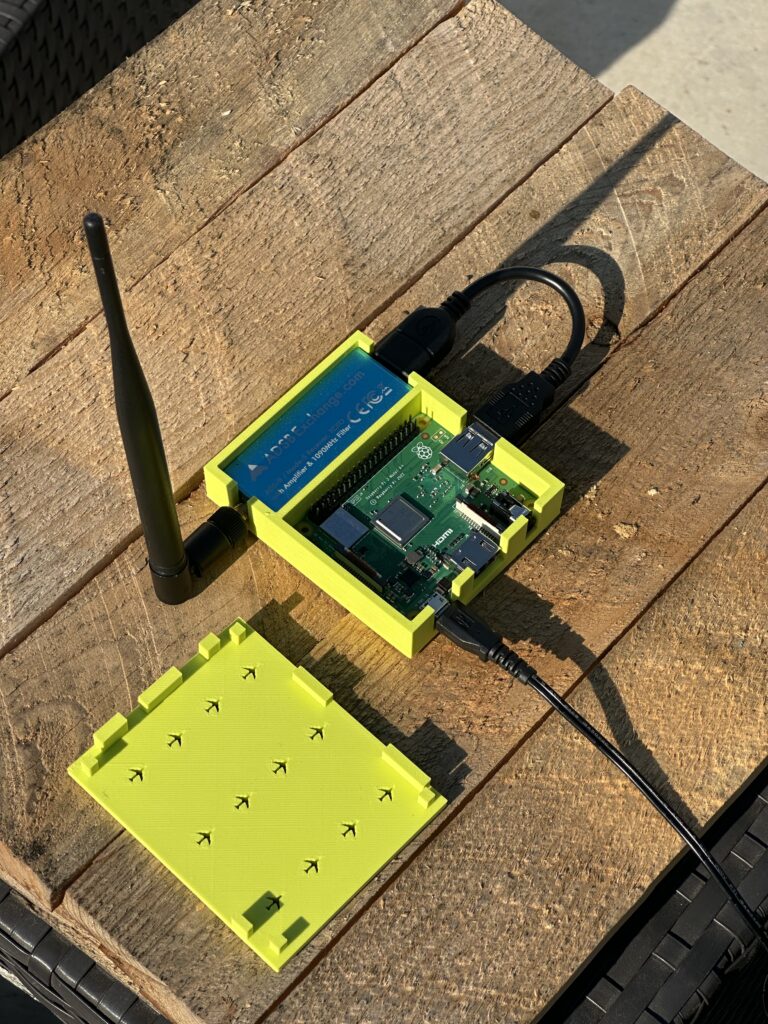
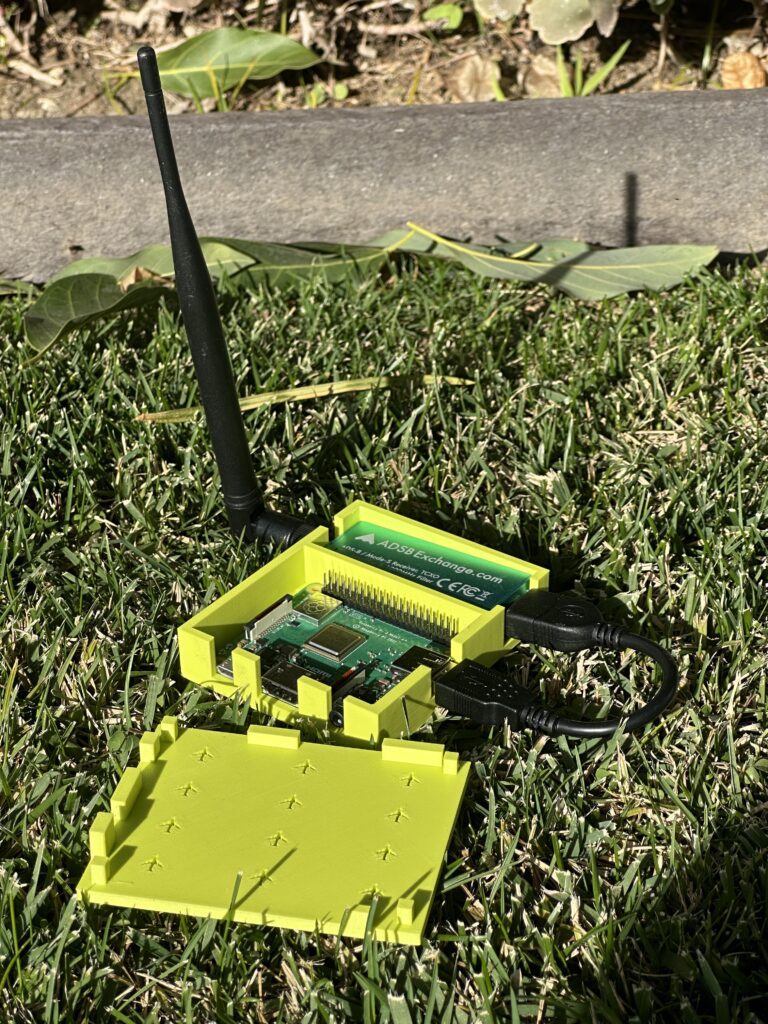
This project uses a Raspberry Pi and an ADSB receiver to track aircraft in real-time. With a custom 3D-printed case, you can build a clean, compact, and portable ADSB receiver. Whether you’re an aviation enthusiast, a tech hobbyist, or just curious about what’s flying above you, this project is a fun and educational way to get started.
What You’ll Need
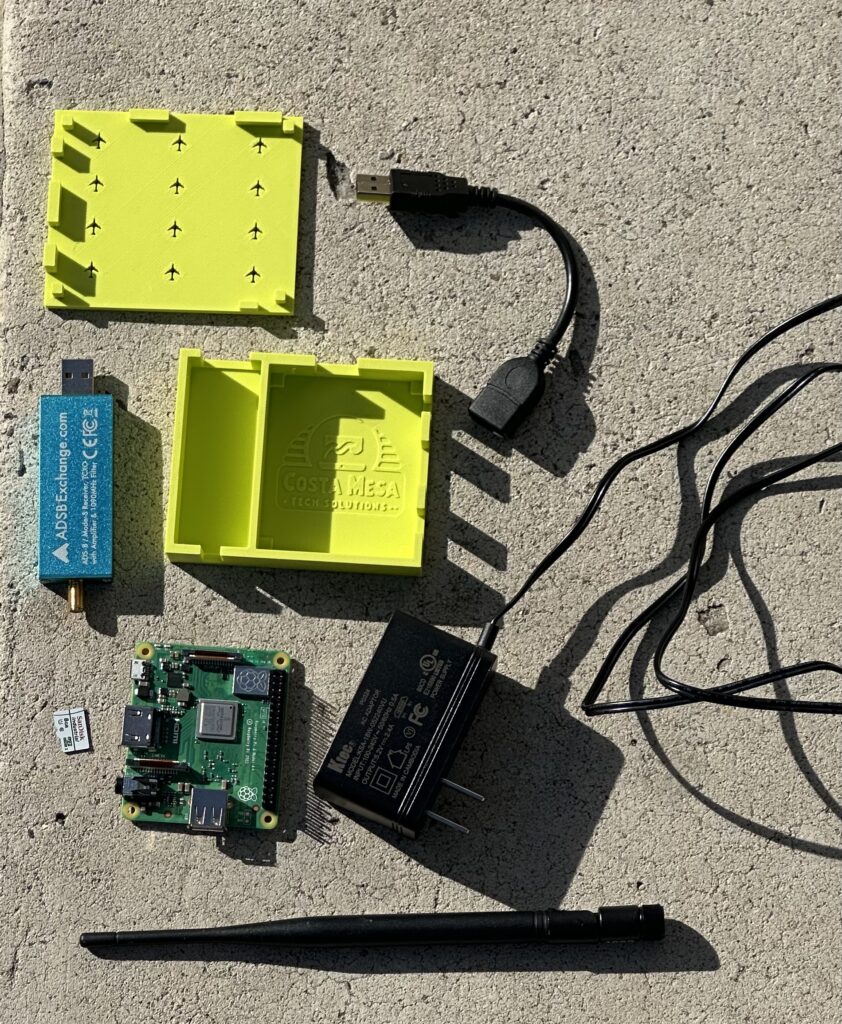
- Raspberry Pi 3 Model A+
- Perfect size for this project
- Built-in WiFi
- Blue R820T2 RTL2832U SDR
- Includes antenna and industrial micro SD card
- Built-in amp and 1090 MHz filter for better reception
- SoulBay 5V 3A Power Supply – 6ft cord included
- 6″ USB Extension Cable – connects Pi to SDR
Complete Setup Guide
1. Flash the SD Card
- Download Raspberry Pi Imager from raspberrypi.com/software.
- Insert the micro SD card into your computer.
- Open Raspberry Pi Imager.
- Click the gear icon (advanced options) to set:
- Hostname (if you want to change it)
- Enable SSH
- Configure your WiFi details
- Set a custom username and password for added security
- Choose OS: “Raspberry Pi OS (32-bit)”.
- Choose Storage: Select your SD card.
- Click Write and wait for completion.
2. Assemble the Hardware

- Insert the flashed SD card into the Raspberry Pi.
- Connect the SDR to the Raspberry Pi using the 6″ USB cable.
- Attach the antenna to the SDR.
- Connect the power supply to the Pi.
- Optional: Use our 3D-printed case to hold everything together neatly – Pi and SDR side by side, connected by the USB cable.
3. Connect to Your Raspberry Pi via SSH
You’ll need another computer or device to configure the Raspberry Pi. Here’s how:
- On your computer, open a terminal (macOS/Linux) or use an SSH client like PuTTY (Windows).
- If you set a hostname in the Raspberry Pi Imager, you can connect directly using:
ssh [username]@[YourHostname] - If you don’t know the hostname, find your Raspberry Pi’s IP address by checking your router’s connected devices list or using a network scanner app.
- Connect to the Pi using SSH:
ssh [username]@[Your Pi's IP Address] - When prompted, enter the password you set during the SD card flashing process (default is
raspberryif unchanged). - After logging in, change the default password for security:
passwd
4. Install PiAware
Run the following commands in your SSH terminal:
sudo apt update
sudo apt install piaware
5. Install ADS-B Decoder
Install the dump1090 decoder to process ADS-B signals:
sudo apt install dump1090-fa6. Claim Your Receiver on FlightAware
- Go to FlightAware’s Claim Page.
- Sign in or create a FlightAware account.
- Enter your Raspberry Pi’s IP address (the same one you used for SSH).
- Follow the on-screen instructions to claim your receiver.
- Wait about 30 minutes for your stats page to show data.
7. Start Tracking!
Once your receiver is claimed, you can:
- View real-time flight data on your local network using SkyAware.
- Access premium FlightAware features for free by sharing your data.
- Feed data to other tracking services like ADSBexchange or Flightradar24.
Get the 3D-Printed Case
Price: $3 – $10 (Name Your Price)
Don’t have a 3D printer? Contact us for help!

